


French Polishing (A Hybrid Approach)
Arguably an article about watching paint dry for the chemically sensitive... (with video!)
This is a long one folks so you might want to pop it open in the app for a better reading experience. :-)
When I started thinking about talking about going about making guitars with the idea I was going to sell them there was one pre-requisite that I had in mind with regard to the process of finishing them. I would attempt to make it as enjoyable as possible. You see, I hate applying finishes. Never been good at it. I lack the patience, can’t tolerate the chemicals, hate wearing a respirator and don’t even get me started on the cleanup. This immediately disqualified Nitrocellulose lacquer (and almost everything else) so I decided to stick to my guns and just use the stuff that I have used over the years on my furniture pieces, natural oils, milk paint, wax and of course shellac. (My own mix using Everclear as a solvent which to the best of my knowledge is of course toxic but only in the way all hard booze is.) As to the compatibility with regard to the topsy turvy world of rock and roll (to paraphrase Spinal Tap) I would just see what happens.
Enter French Polishing…
French polishing is the art of applying shellac in such a way one ends up with a deep, beautiful mirror-like shine that has a depth and clarity the likes of which are stunning. It “typically” (and I say typically because there appears to be wide latitude when it comes to each individual’s technique) involves using 2f or 4f pumice (which acts as a cutting medium) and thin shellac which creates a slurry of pumice, shellac and wood dust that gets packed into the grain. From there the end user gradually, builds layer upon layer, drop by drop, a carefully controlled mix of shellac and alcohol using a pad and a small amount of a non drying lubricant (olive oil, mineral oil etc…) to keep things flowing. The apex of the process involves “burnishing” the finish to a high gloss luster using nearly a dry pad mostly containing alcohol. All told when it comes to French polishing words like “mostly”, “nearly” and “dry” are where things get jammed up. It is one of those processes where a flow chart really can’t suffice and if there is a learning curve it’s getting to understand and react to the behavior of the material you are working with.
From my experience though as long as you follow a few basic rules French Polishing is not as hard to do as the mythology surrounding it would suggest; however, it does have limitations. For one it takes a lot of time from a labor perspective… It’s also not the toughest material (compared to the nearly indestructible stuff used today on most electric guitars) and I initially had concerns about its durability. Arch tops and classical guitars are one thing, but rock and roll is a different animal all together and were it not for those aficionados of a look more indicative of a guitar that’s told a few stories, the work of a few other builders and Jun'ichirō Tanizaki’s 1933 essay on Japanese aesthetics “In Praise of Shadows” I wouldn’t have even bothered.
That said my experiments with the process have yielded results I couldn’t be happier with now I just need to make it a little more efficient. I can’t charge $10,000 for these guitars, nor do I want to so what I have come up with is a hybrid approach that one really can’t call French polishing but gets the job done and in the following newsletter I will describe (to the best of my ability) my method.
So what is shellac???
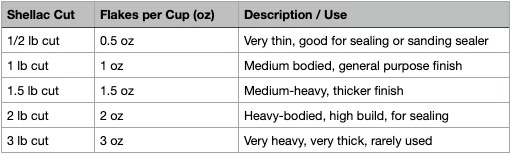
Shellac is a natural resin that is secreted by the Lac bug (Kerria lacca) and as early as about 1200 BCE, lac products were being used in India.1 That’s a long time ago but for this intro discussion I am thinking about its industrial use that evolved in the 19th century. Give or take for a couple of hundred years that de-waxed resin dissolved in an alcohol solvent (the mixture of which is referred to as a “cut” equaling lbs. of shellac to one gallon of solvent. See chart below for mixes of a more reasonable volume for a small shop.) became the go to finish for high end furniture and musical instruments. Unfortunately in the 20th century modern lacquers took over for their relative ease of use and durability which made them well suited for mass production using less skilled labor.


Shellac like many other film based coatings follow the same basic principles:
Fill the grain if necessary
Build up finish
Level “sand”
Easy to level? Continue to step 5. If not repeat steps 2 and 3 until it is.
Buff to a high gloss (or to taste)
Of course back in the days of yore craftsmen didn’t have access to the abrasives we have today so a technique evolved that involves a careful amount of elbow grease, pumice, and rotten stone all the while adjusting a ratio of shellac to solvent to lubricant. Truth be told it’s not as hard as it sounds but it can be tricky to balance all of those variables.
So here’s my conundrum. I don’t have the time to apply what I consider to be patience busting homeopathic amounts of shellac on a guitar for days on end. I need to get the stuff on there (25-50x coats?) knock it back put a few more on and buff it up
Thankfully we have modern abrasive technology…
So here’s what we can do… Let’s take this piece of walnut that has been planed and sanded to p220 grit, apply my “hybrid” approach and see what kind of shine we can get with the least amount of time and thinking possible.
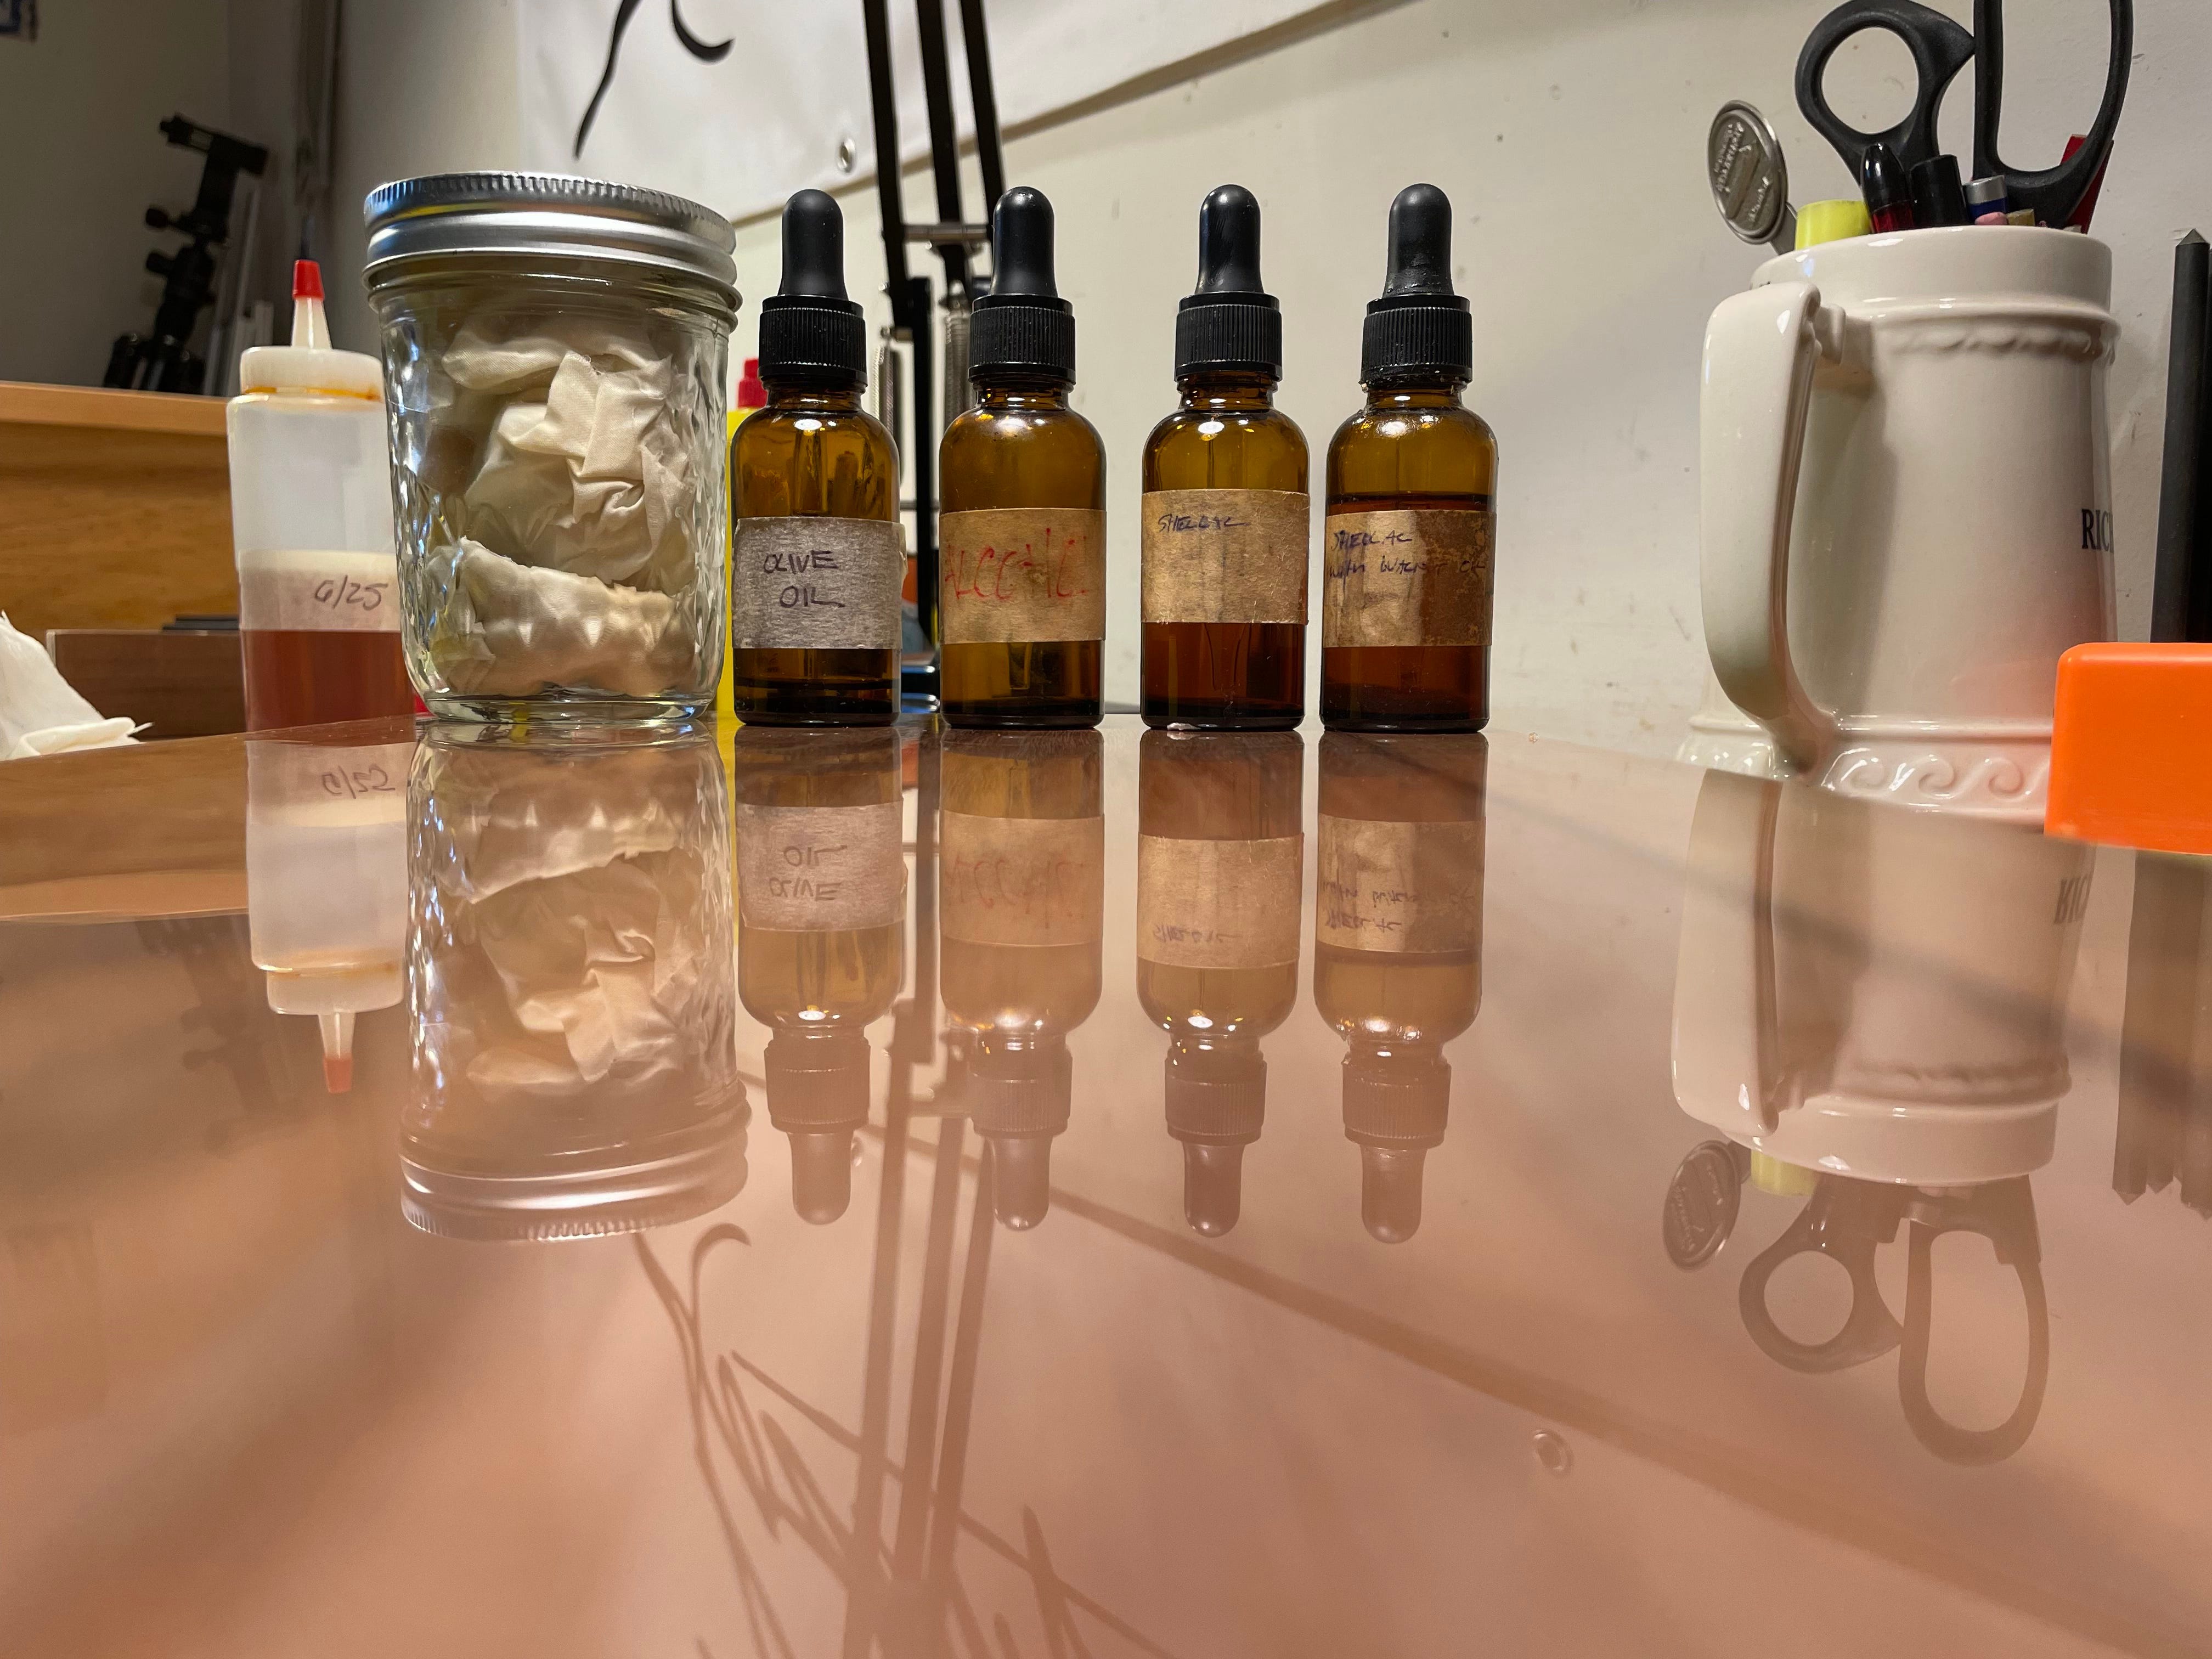
Materials:
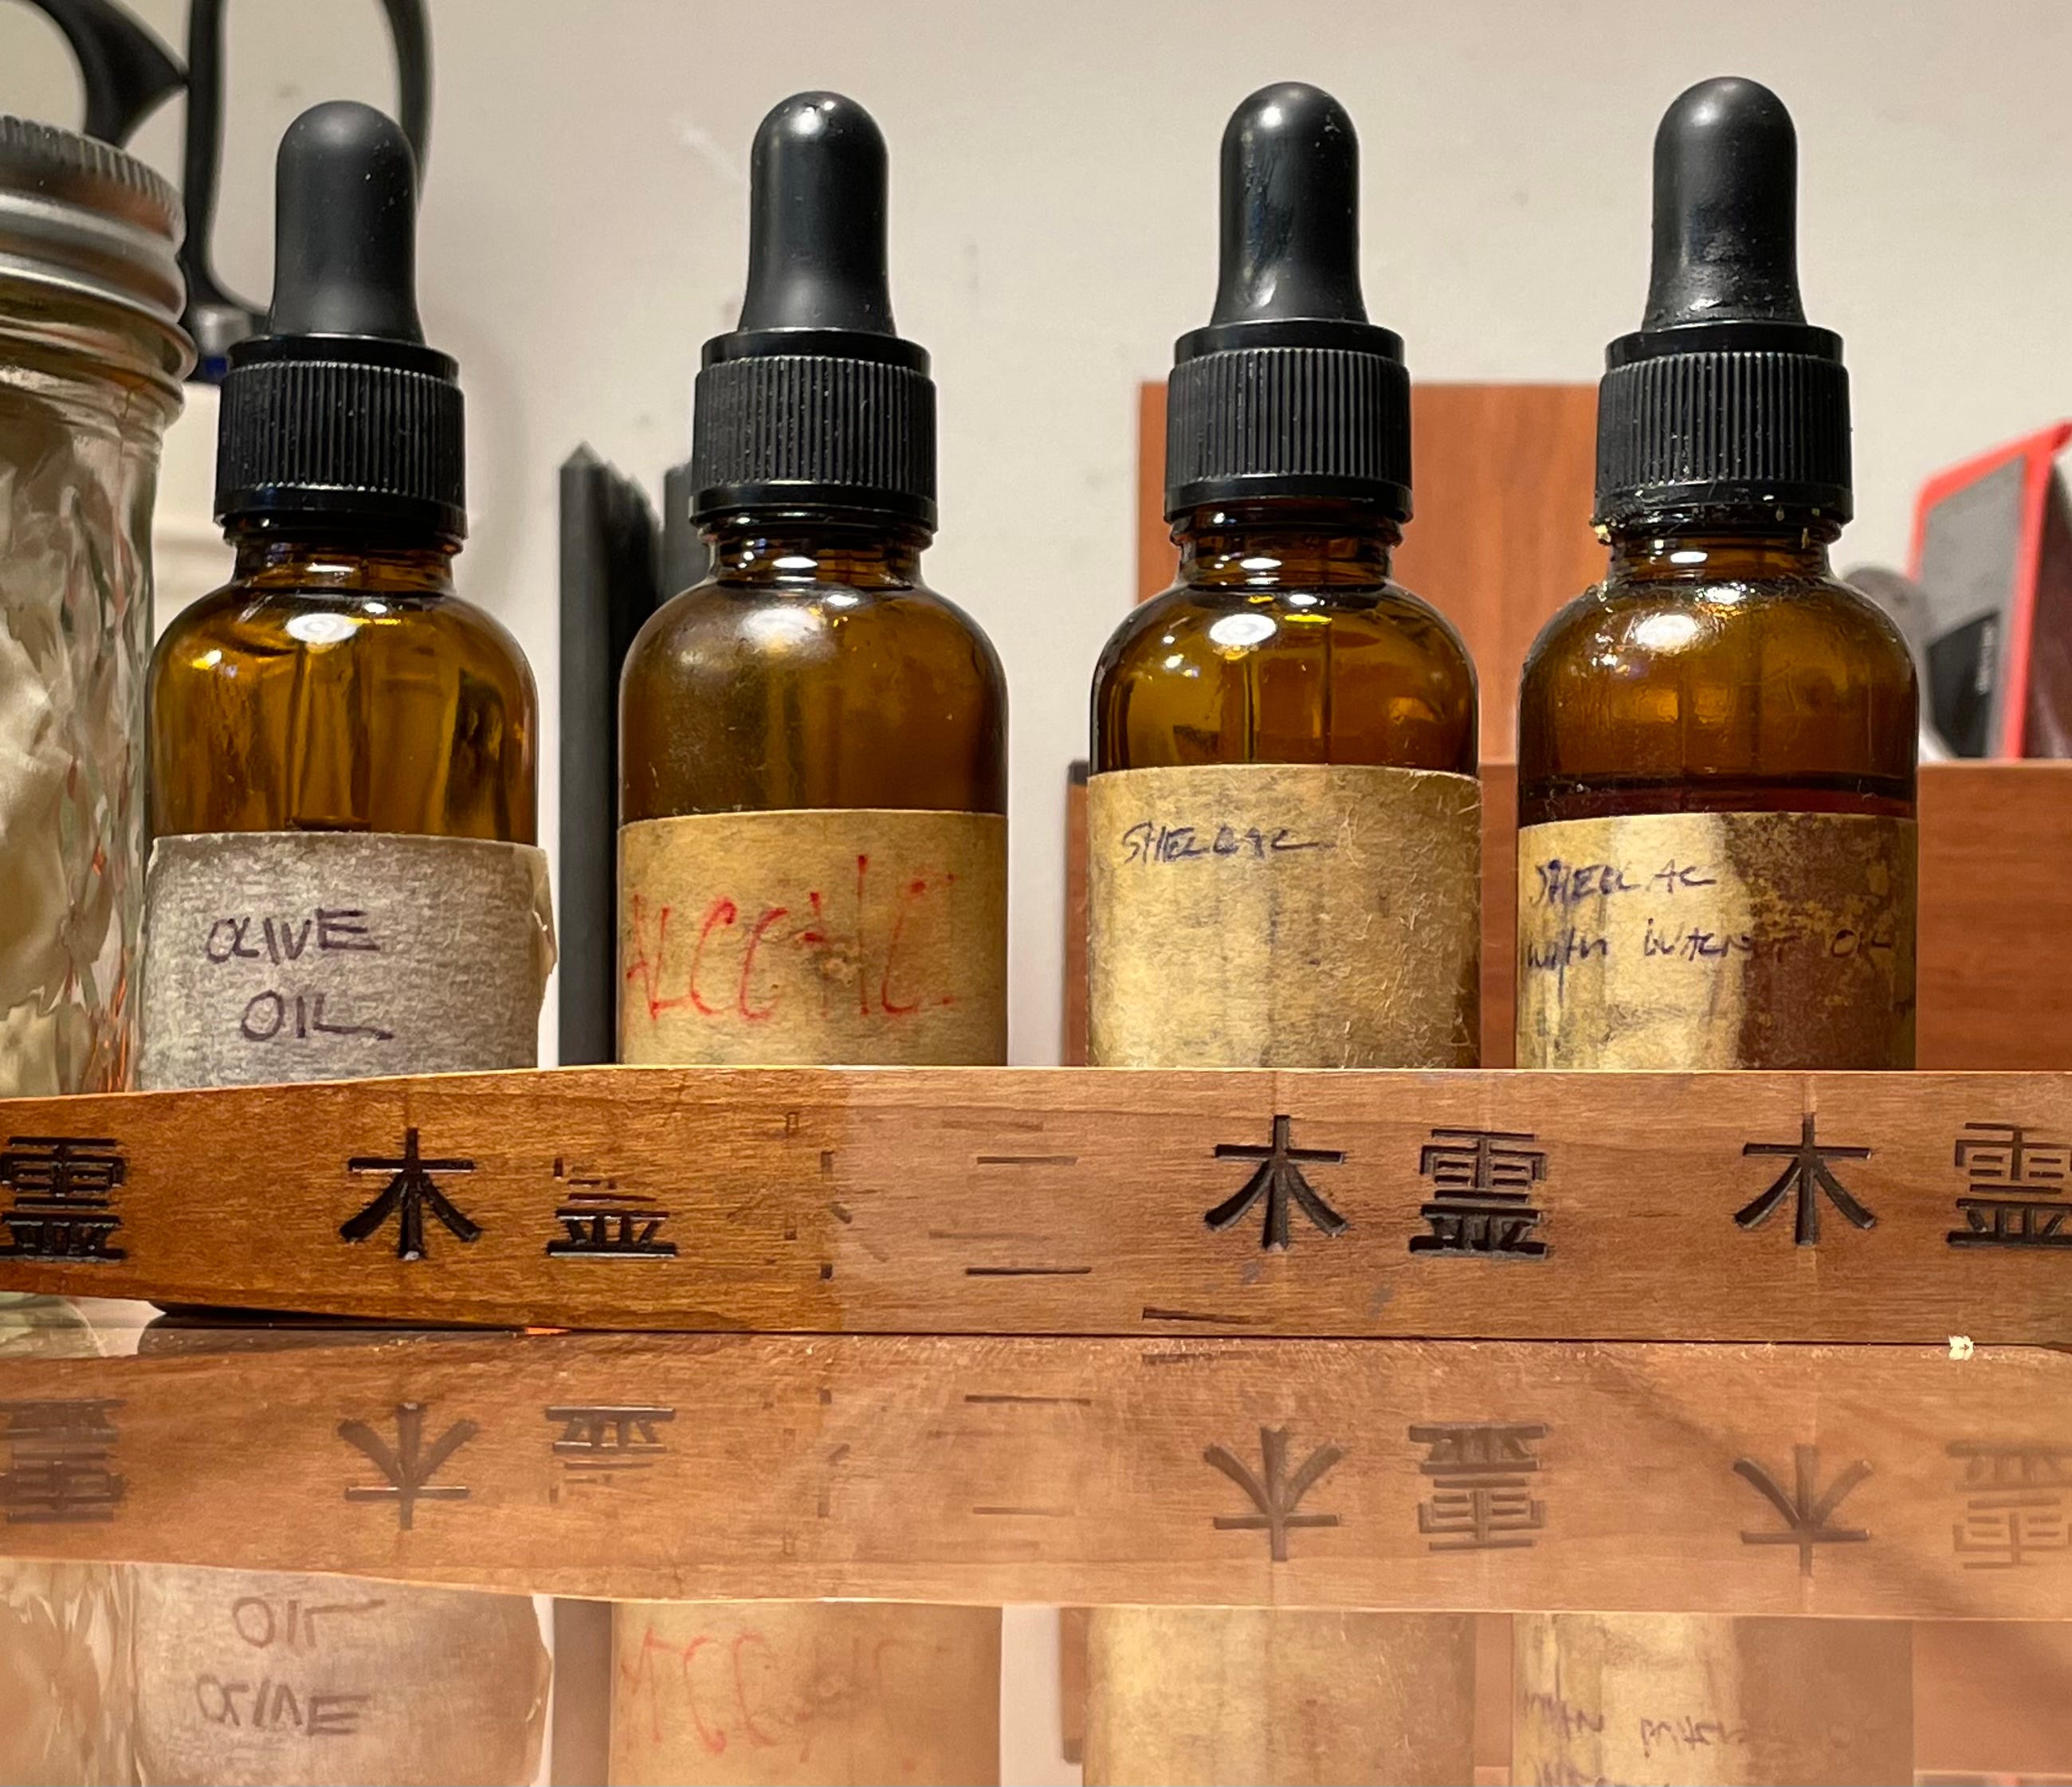
1.5lb cut of shellac (I dissolve my shellac in Everclear)
Olive Oil (a non drying oil)
Cheesecloth
Some linen or cotton with which to make a simple pad and perhaps a small ball looking applicator for the last of the coats.
Super Assilex and Bufflex sanding sheets
Buffing compound
Step 1. Fill the grain
Here’s our test board:
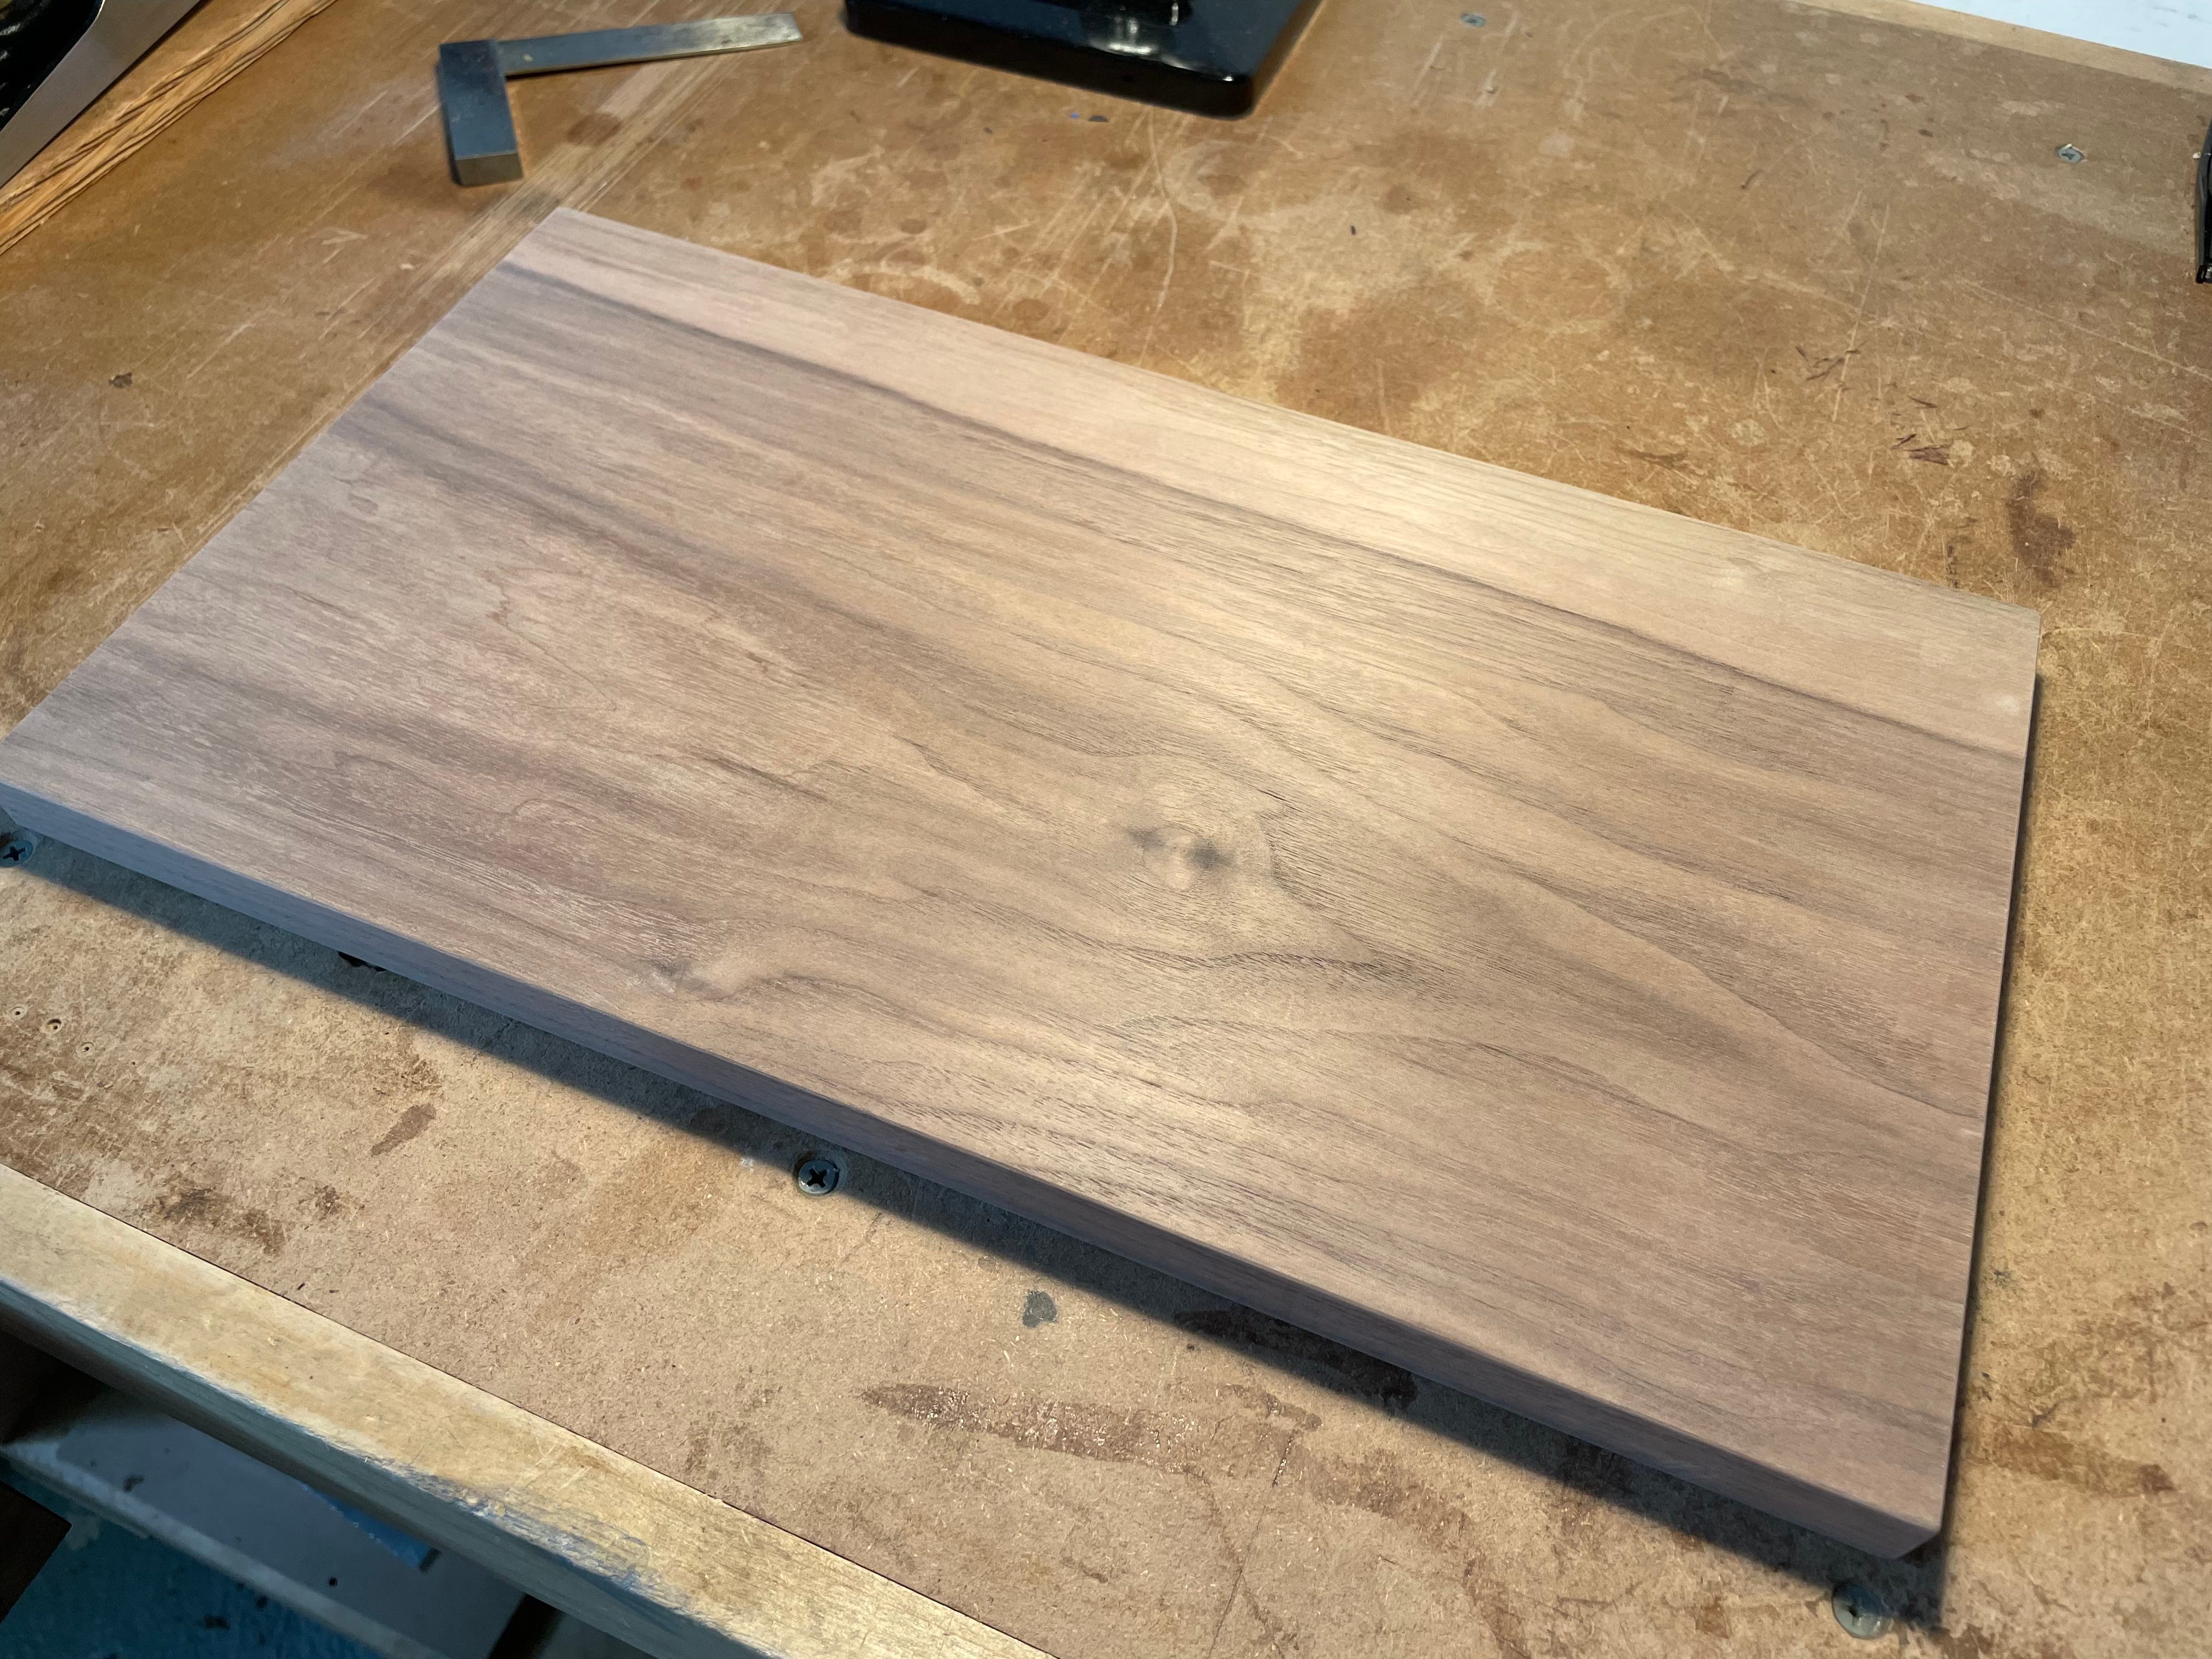
A piece of walnut that has been planed and lightly sanded with p220. Not a particularly great board. There are a couple of knots, some sap wood (which personally I like), and a bit of annoying grain along with some pin holes here and there so it should make for a pretty good test case.
The idea here is to use some alcohol and a small amount of shellac and some pumice to build up a slurry of shellac, pumice and wood dust that can be packed into the pores of the wood. If we don’t do this it will take ages to build up a thick enough layer of finish that can be polished to a mirror shine. (some woods species are more porous than others so definitely do your own research) The trick is to work more on the wet side which means the cheesecloth applicator when blotted onto a clean sheet of paper should leave a small amount of shellac on the paper.
Sometimes it’s easier to show someone how to do a thing than it is to explain it so I made this pretty rudimentary video:
Once the grain has been satisfactorily filled (see photo) a session with a clean damp cheesecloth pad with mostly alcohol in it will clean up the surface.

Step 2. Pad on 25 coats of shellac.
As mentioned before here’s where I diverge from what would be considered proper French polishing. I just want to get the material on the board as quickly as is practical without making too much of a mess. For me that means brushing it on is out so I quite simply take a piece of old cotton t-shirt, make a pad and apply 1 1/2 lb cut to the surface.
An old t-shirt rolled up into a firm pad is an efficient and neat enough way to get the job done. A plastic bottle used in I believe candy making helps with charging the pad.
Shellac dries very quickly so usually by the time I cover the guitar body it’s just about dry enough to add another coat. That said, this only works to a point, so if at any time my pad grips the previous surface I stop and let it rest for thirty to forty minutes. Admittedly not the fanciest or the most elegant approach but like I said earlier because we have at our disposal some of the most amazing modern abrasives ever invented I can make up for any skill I lack by careful level sanding.
Step 3. Level Sand with Super Assilex K800. (or equivalent)

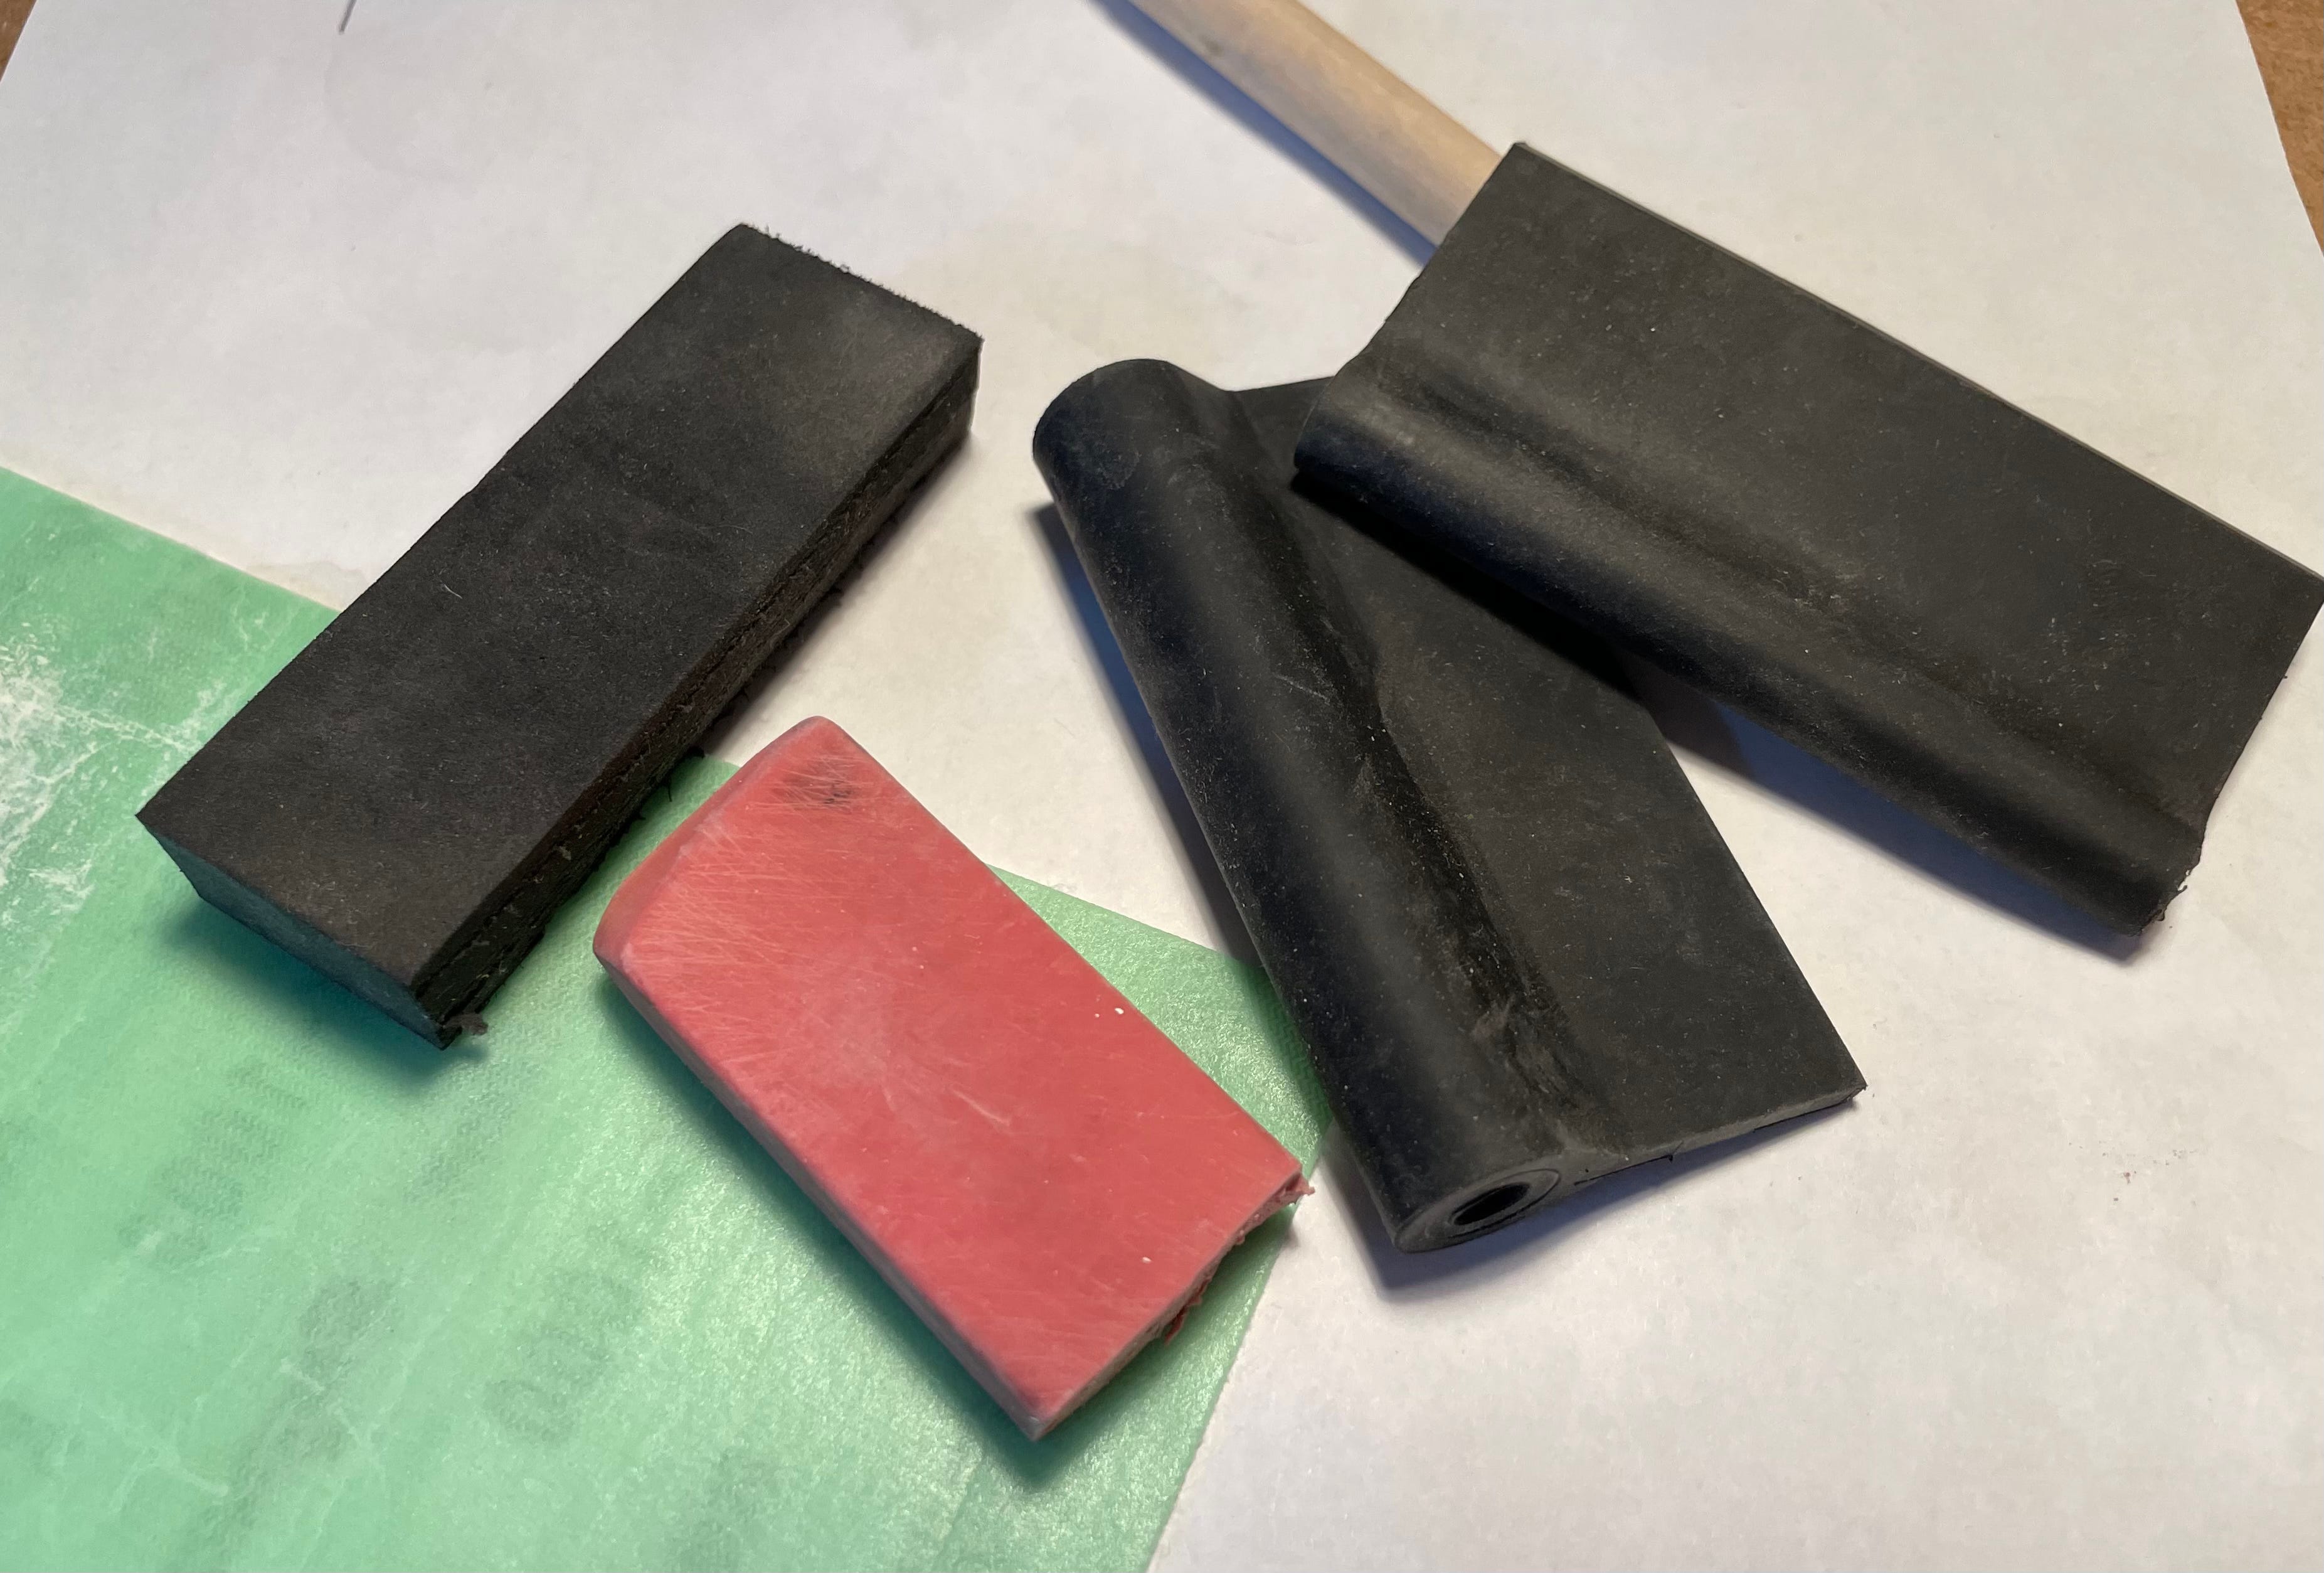
A quick note on sanding. Take a moment to find the best sanding block for any given job that you can. Here are some of my favorites:
Step 4. Does it need more coats?
I have to admit I could have done a more thorough job of grain filling on this board.
Step 5. More coats… In this instance I padded on 25 more (which again goes on fairly quick) Then once again level sand only this time I ran up through the Superassilex and then the Bufflex grits. K800,1000,1200,1500 then Bufflex K2000,2500 and 3000. So about a million dollars worth of sandpaper which is certainly cheating in the world of French polishing and WAY overkill (I could have stopped way before the Bufflex stuff) for what I am usually going for but again just experimenting here.

Step 6. French Polish to your hearts content spiriting off2 in between sessions. (and a few notes on the process via another rudimentary video because I am getting tired of typing….)
Step 7. Remove any remaining olive oil on the surface with some naphtha, wait a few days (longer is better) and buff it out with some polishing compound. (I've heard good things about Novus 2 (Fine) Plastic Polish although I am still using some automotive stuff. When that runs out I’ll give Novus a try.)
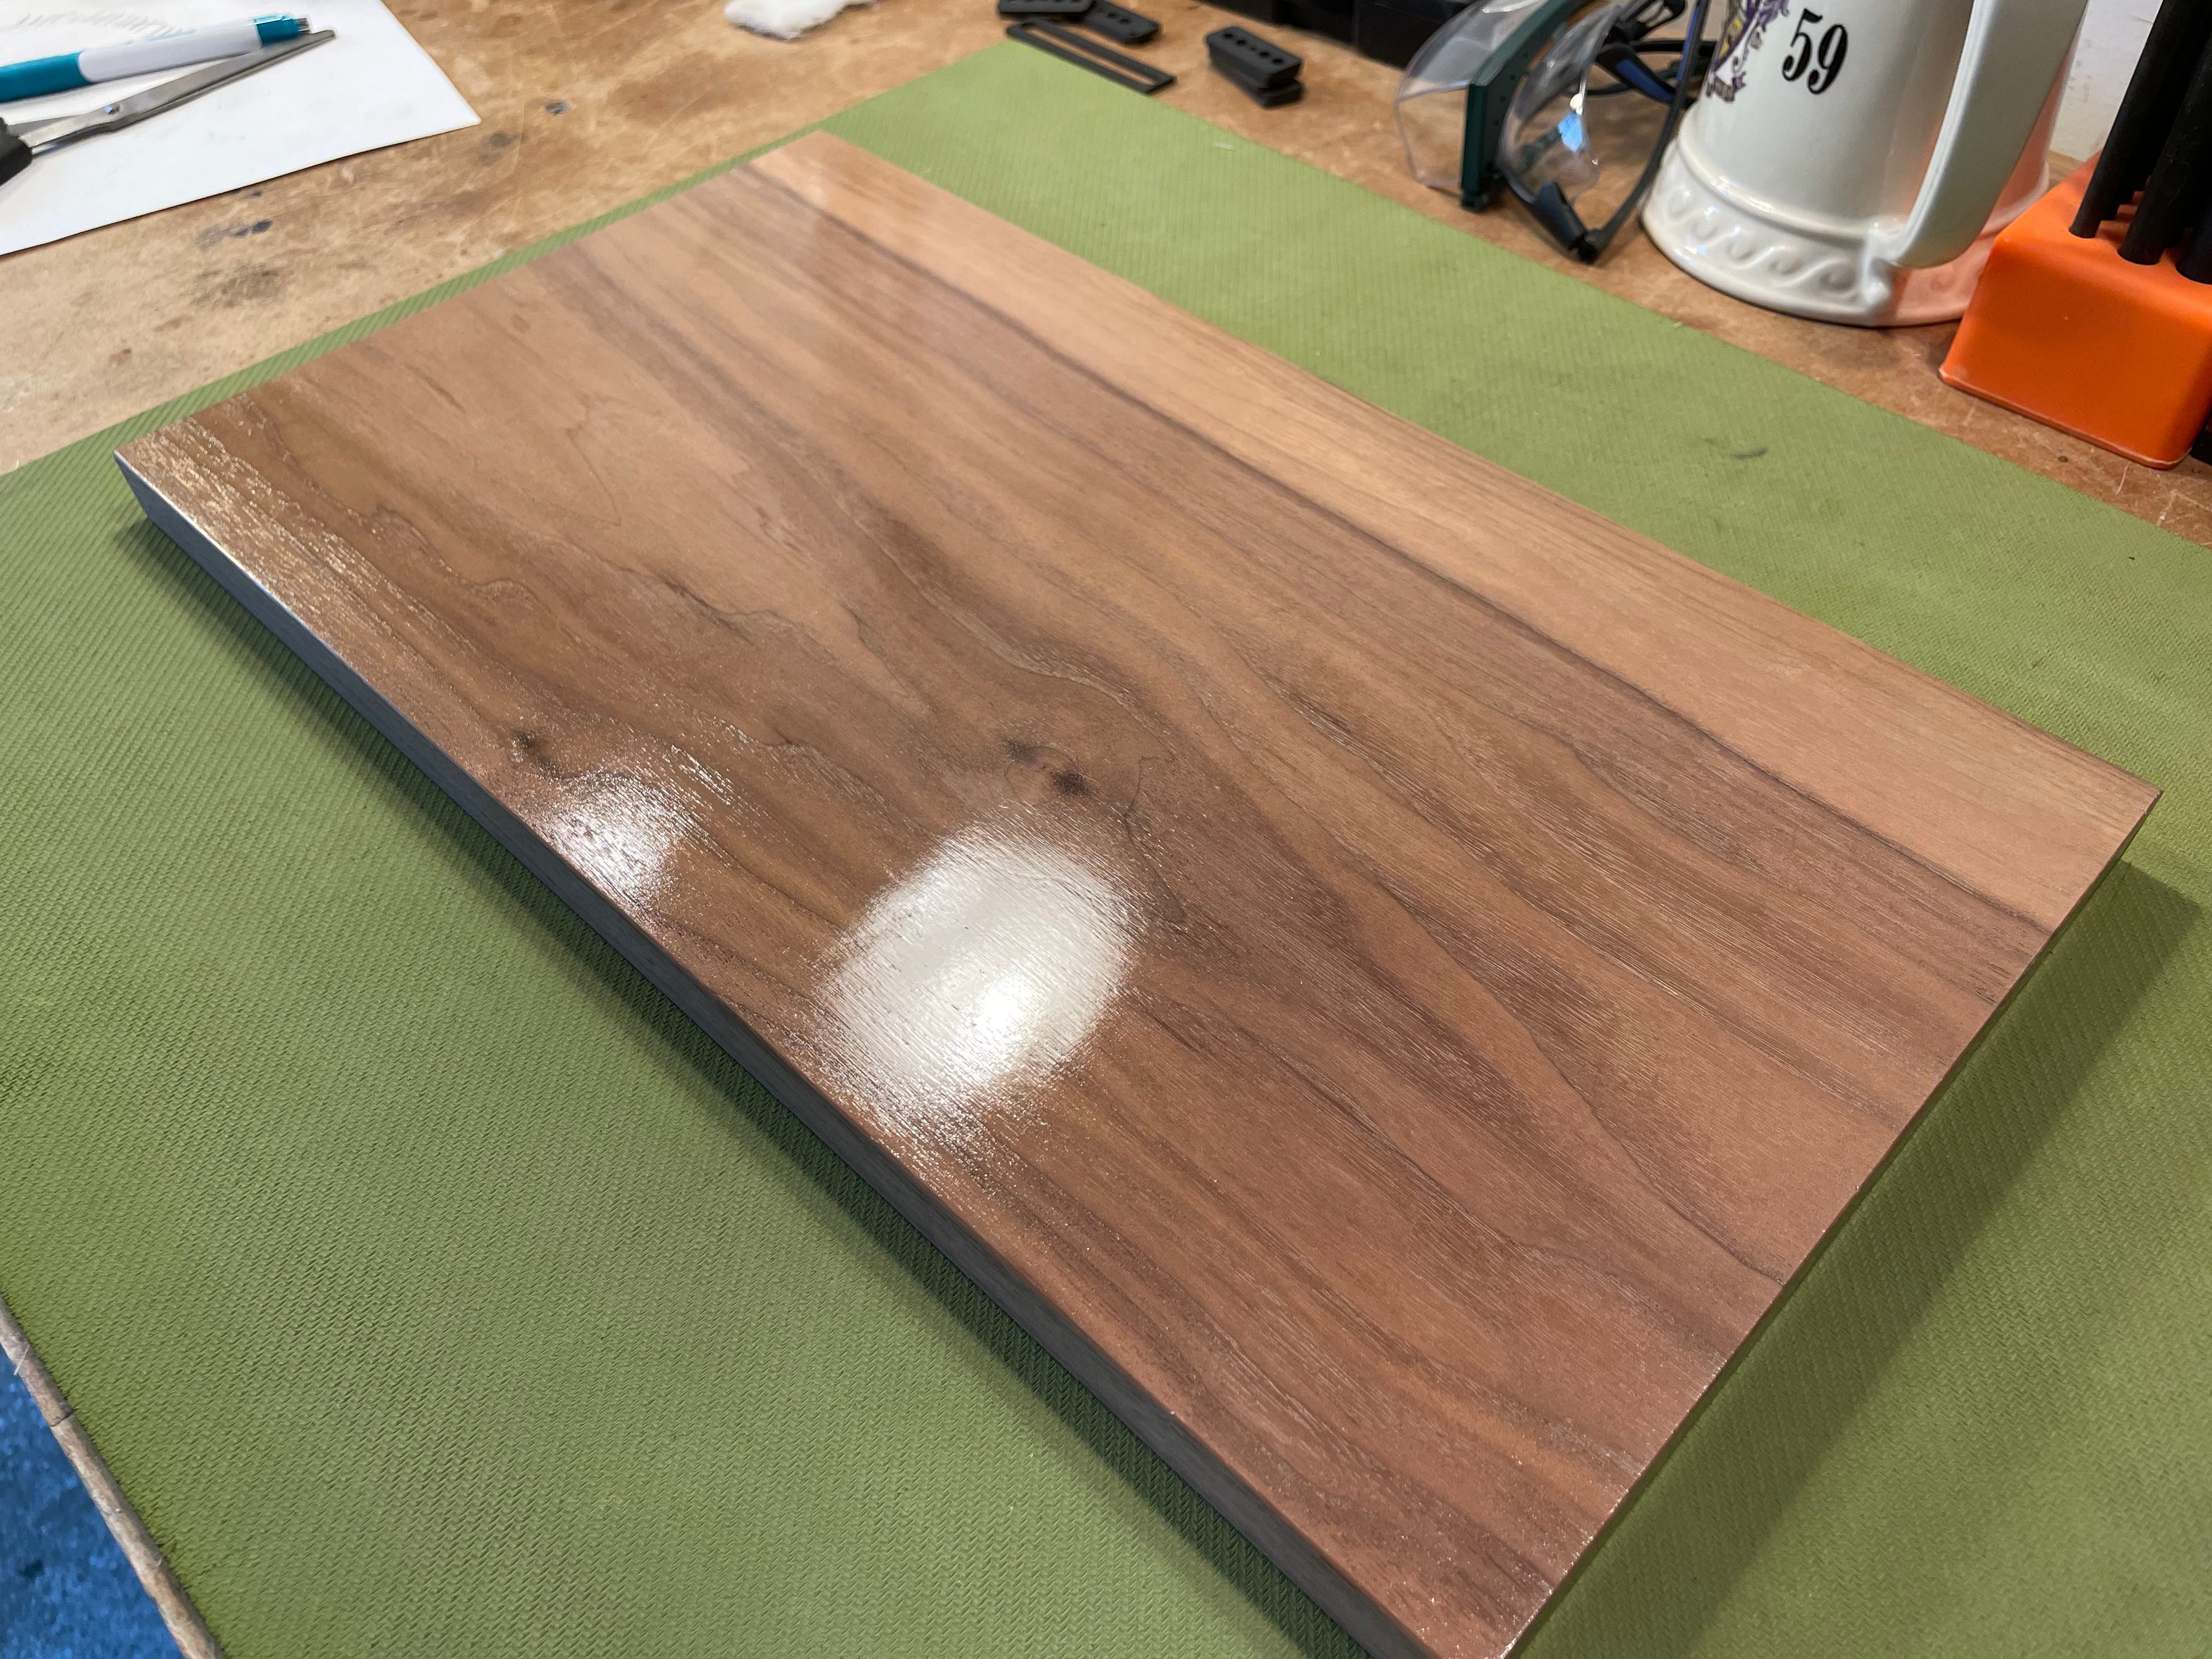
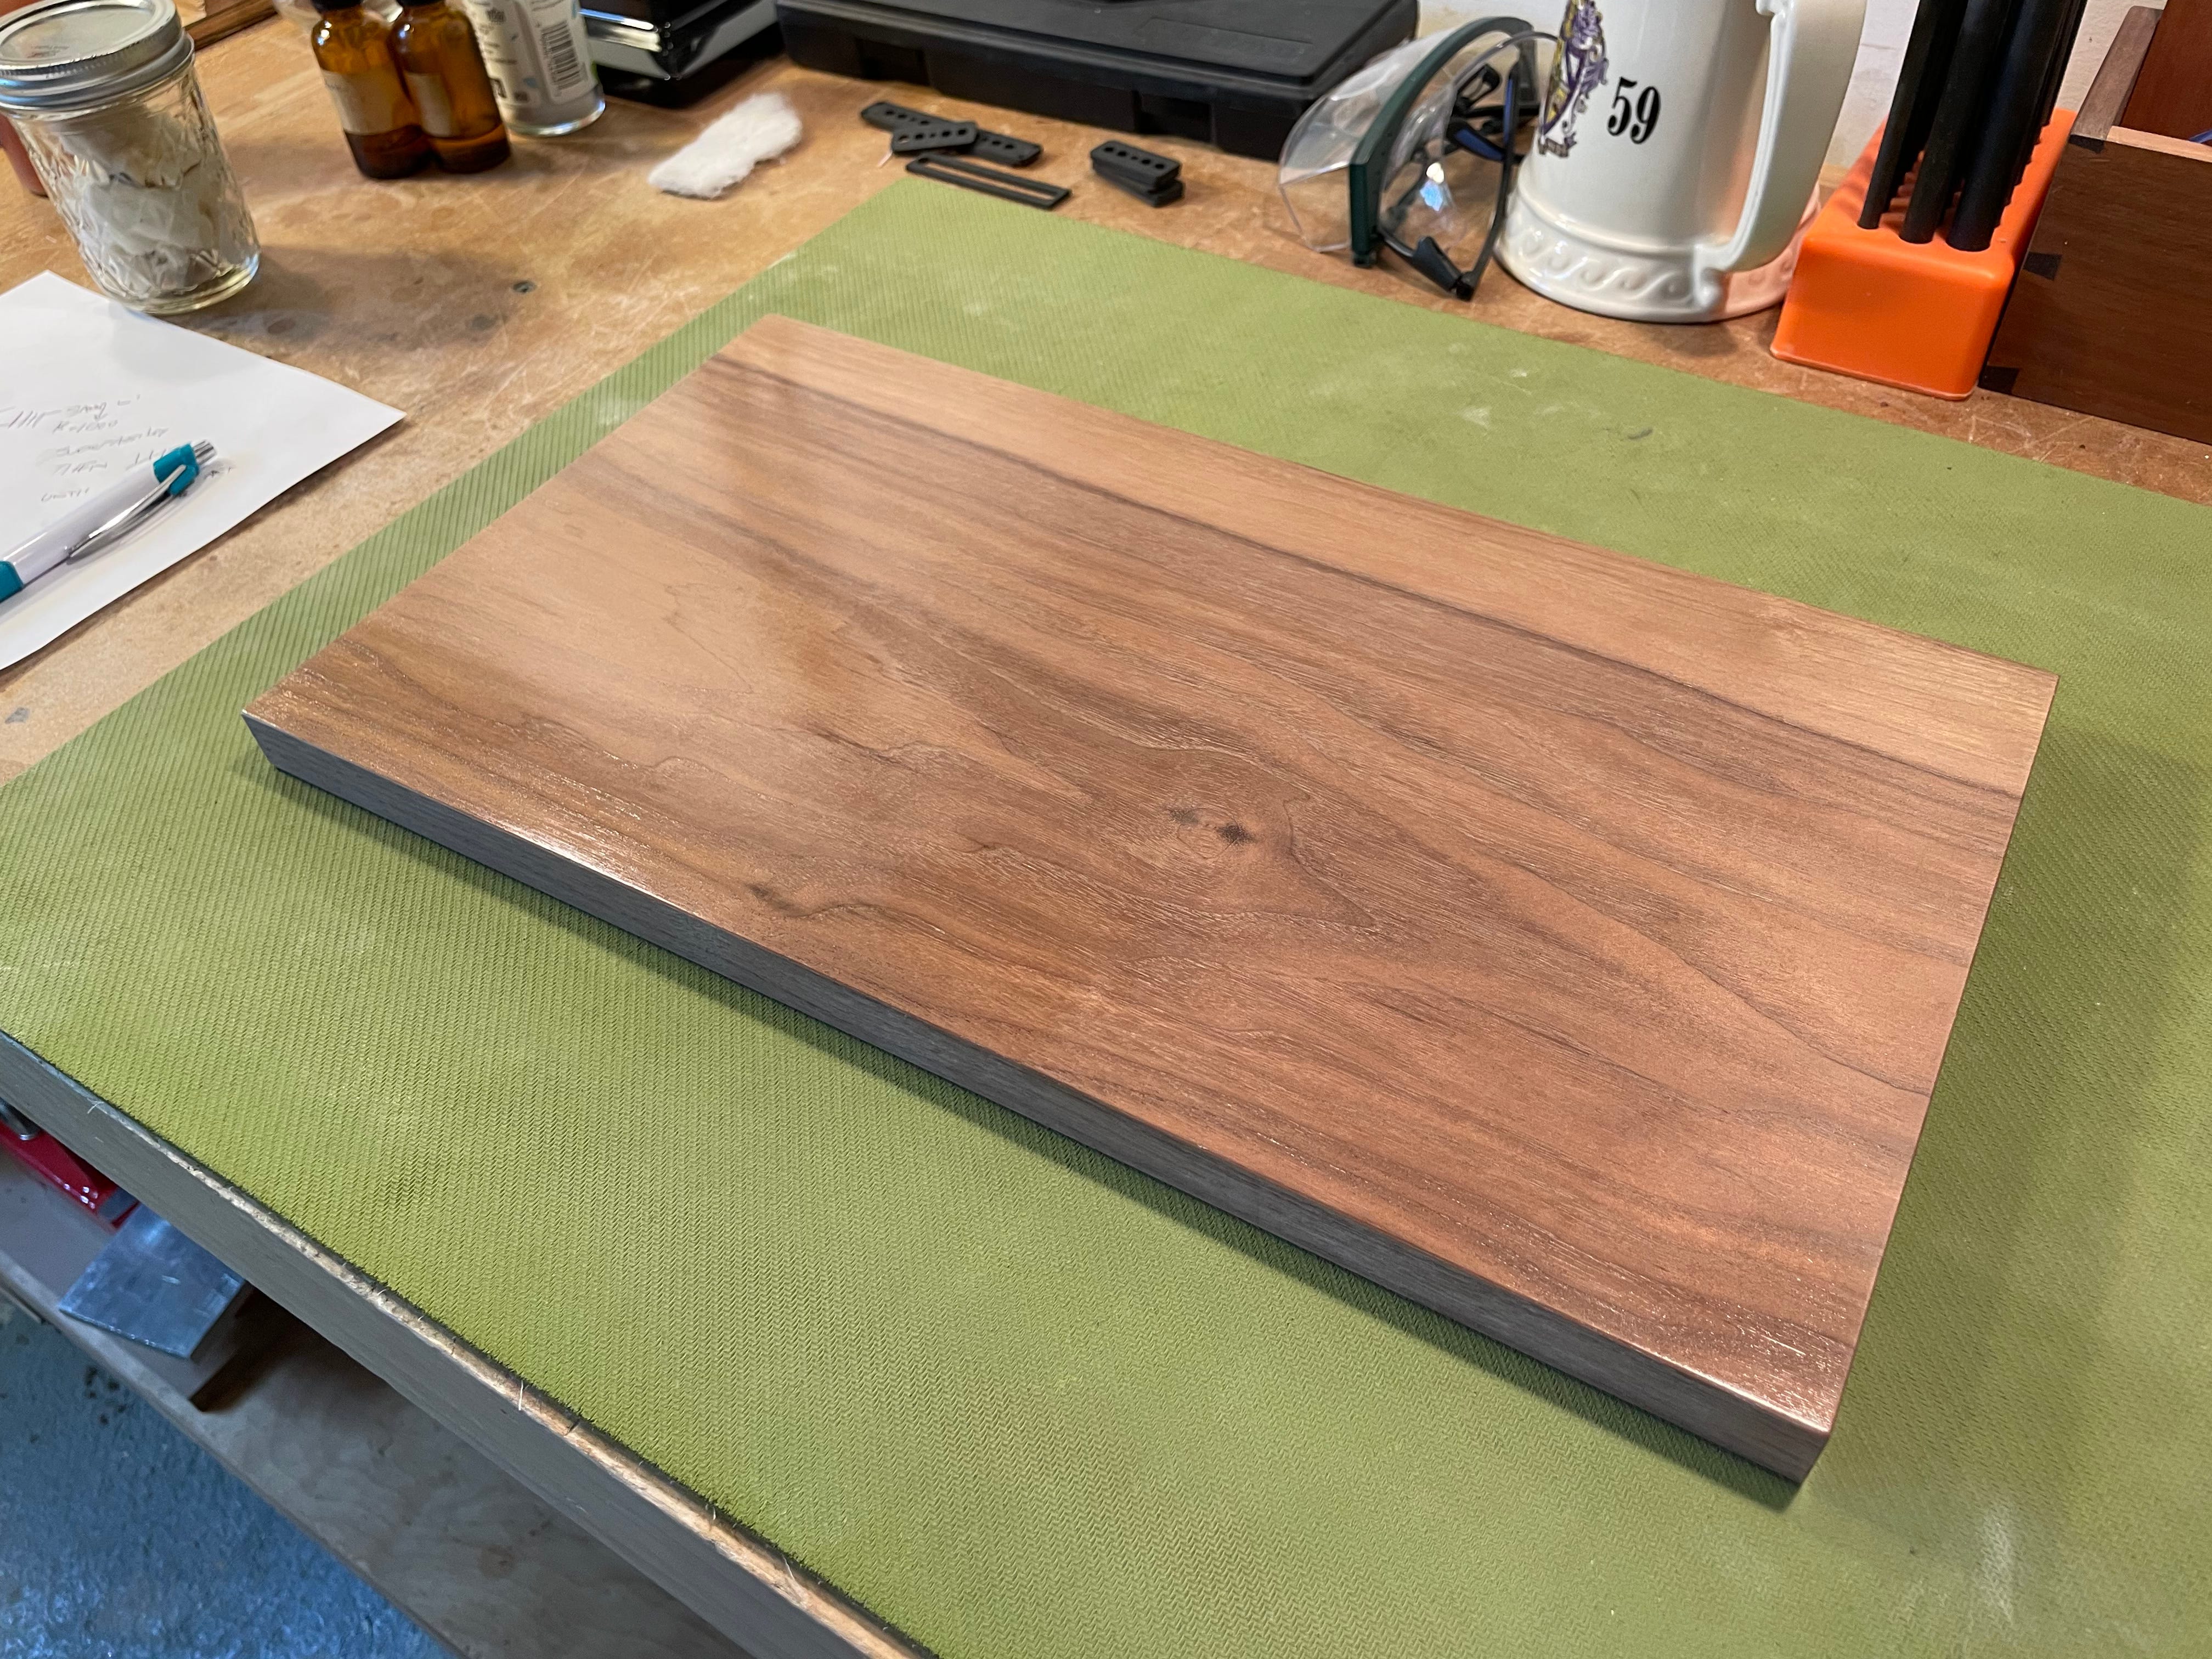
The end result is a lovely shine as seen in this photo.
Notes and Errata:
For the sake of experimentation I sanded with Assilex K1200 and then went to compounds to see how easy the scratches could be removed by hand. Left photo reveals that it wasn’t so easy… The right is sanded to K2000 then buffed. The board has been a tad abused at this point so it’s ugly but the scratches were relatively easy to buff out by hand.


Also… I can’t emphasize enough how important it is to thoroughly fill the grain by whatever means works.
I had a strange “rippling” effect happen which could either be hand plain tracks or an uneven distribution of shellac via my padding technique. (this will require further investigation. That said, Kodama Guitars are only polished to Bufflex K2000 so it’s less of a factor.
“Lac,” Encyclopaedia Britannica, last modified May 23, 2024, https://www.britannica.com/print/article/327085.
AKA buffing (with a lot of pressure) the finish with a very dry pad consisting only of alcohol with a tiny bit of shellac.